In this post I will explain how to set-up the repository management system Git in Visual Studio Code and how to configure a GitHub account and make it work with Visual Studio Code. For this tutorial you are going to need:
- Visual Studio Code. Free programming environment with support to many different programming languages. Download here.
- Git. This is a repository management system, it lets you keep track of changes and versions in all of the files you are working with. Very useful. Download here.
- A GitHub account. GitHub is an internet based repository that allows you to upload your files and keep track of your git management online. You can get an account here.
STEP 1. Fulfill the requisites.
First make sure you have installed Visual Studio Code and that you have verified the email of your GitHub account. You should also download and run the installer for Git. The installation of Git has added new commands to Windows and you can use those commands from a shell or command window. Also, you have several new programs that you can use to interact with your Git installation, as you can see in your start menu.
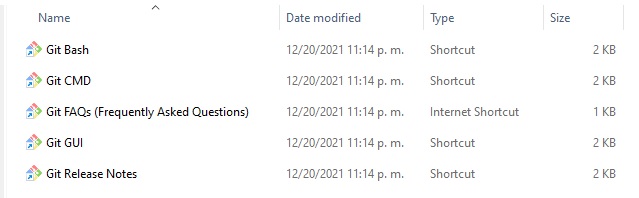
STEP 2. Configure your Git username and email.
To make modifications to our Git configuration we will use Git Bash, the first program in the picture. Once you open Git Bash you will get a command window that looks like Figure 2.
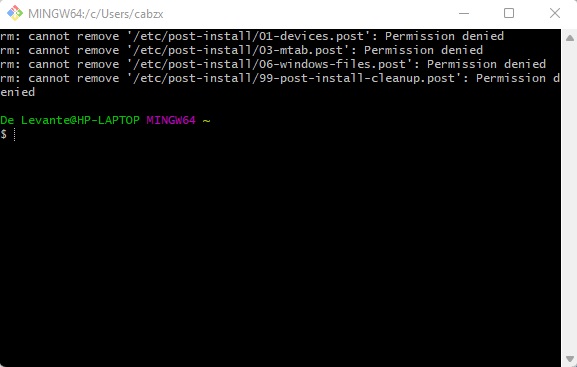
You can write commands next to the dollar sign $. You do not need to write the dollar sign again. All commands start with he word git and they have several options. First, create a username using the following command:
$ git config --global user.name "Cab"You can then verify that you have set the username by typing the command again but avoiding to include the username.
$ git config --global user.name
> CabNow we need to configure an email. Use the email that you are using with GitHub in order to avoid confusion. The command that you need to input is:
$ git config --global user.email "name@example.com"
Git works with repositories, these are folders and files that are grouped together. Any one repository or “repo” resides inside a folder. You can have a username for a single repository. In that case you would need to navigate to the folder containing the repository and use the following command.
$ git config user.name "Cab"In order to see all the folders in the current directory you can type this command.
$ dir
You can navigate to another directory (folder) using the cd command followed by the name of the folder. For example, if you want to go to the folder named “Folder” you may type the following.
$ cd Folder
You do not need to do anything else here so you can just close the Git Bash window.
STEP 3. Creating SSH key.
We now need to create a SSH key, this is a secure hardware key that you are going to use to authenticate your computer on GitHub. We will use Git Bash for this again, so open it again. The command that you have to input will use your email address, the same email address that you used for your GitHub account.
$ ssh-keygen -t ed25519 -C "name-here@your-domain.com"The command window will prompt for the name of the file, you can just press enter to use the default name. Then the prompt will ask you for a secure passphrase. You may also press enter to use an empty passphrase. You will have generated a public and a private key pair. Your public SSH key has been stored in the pub file that you just created. Most likely this is going to be inside the folder C:/Users/username/.ssh
STEP 4. Adding SSH key to GitHub account.
In order to connect your GitHub account with the Git installation in your computer we are going to need the contents of the public key that you created in the last step. Open the .pub file and copy its contents, you should open the file with a program like Notepad or Notepad++, do not use other programs.
Now you must log in to your GitHub account and locate the settings option in the user menu, as shown in the next figure. This is the GitHub website: https://github.com/
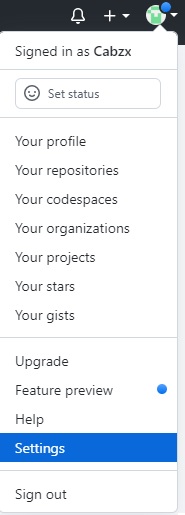
In the settings menu we have to look for the SSH and GPG option in the left side menu under the heading “Access”.

We now click on the green button that says “New SSH key” and add the new key. We can use any title and in the Key box we have to past the contents of the public key from the .pub file.
We should be ready now. In order to verify we can go back to Git Bash and input the following command:
$ ssh -T git@github.comYou should get the following reply:
Hi username! You've successfully authenticated, but Github does
not provide shell access.
STEP 5. GitHub in Visual Studio Code
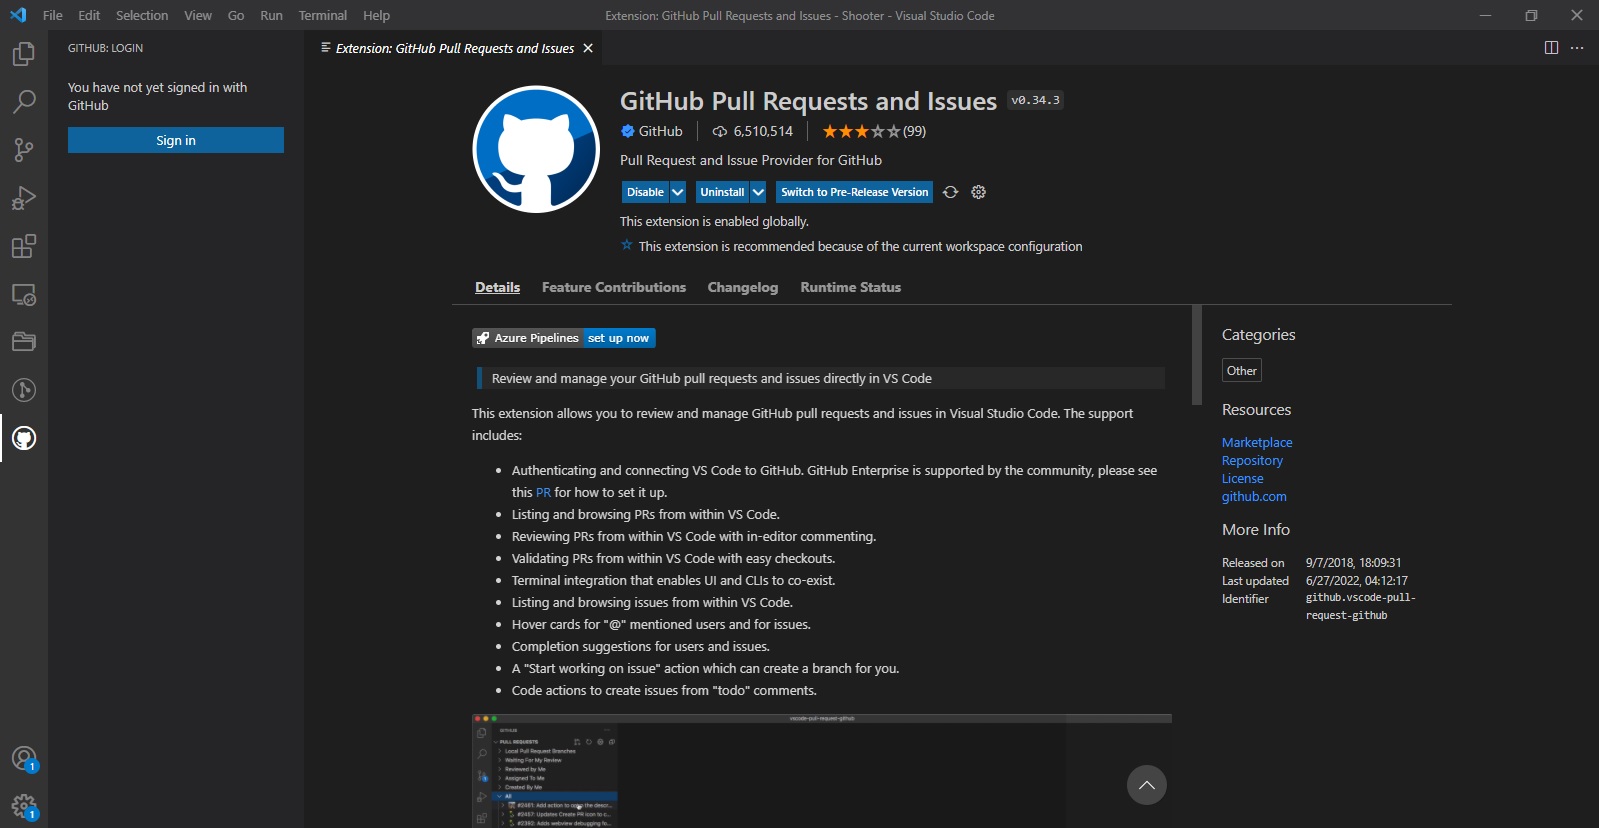
First open Visual Studio Code, make sure the software is up-to-date. In the left hand side look for “Extensions” and in the search bar search for the GitHub Pull Requests and Issues Extension. Install that extension. You may want to restart VS Code before continuing. On the left hand side you will find the GitHub icon, click on it and sign in to your GitHub account. Read everything that you are shown as several windows will pop-up.

We can now create repositories in our computer and send them or “push” them to GitHub. We will see how in the next post.