In this tutorial we will learn how to run HaxeFlixel projects in Visual Studio Code. We will focus on installing the Lime plugin for Visual Studio code and configuring the file structure to take advantage of the Visual Studio Code features. In order to follow this tutorial make sure you have completed the HaxeFlixel installation guide, here.
Lime extension for Visual Studio Code
We learned in a previous post that Lime is a framework for software development, it is in this framework that the OpenFL library exists which we use to make 2D games. The Lime extension for Visual Studio Code adds code completion, inline documentation, dependency tree support among many other features that make development easier for the software professional.
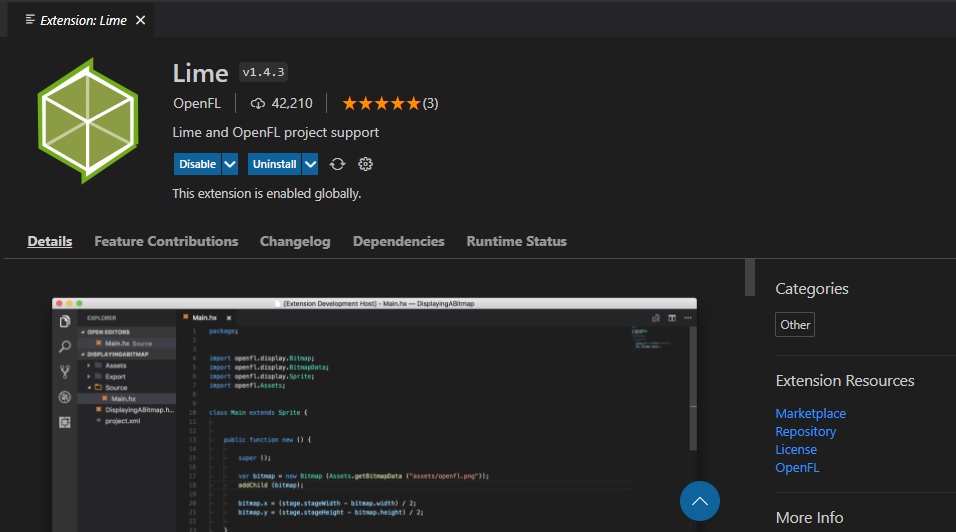
Open Visual Studio Code and go to the extensions tab. You can find the extensions tab on the left side vertical pane or through the combination Ctrl+Shift+x. Type “lime” in the search bar and select the extension that looks like the next figure.
Once you click on install, Visual Studio Code will automatically download all its dependencies, like the Haxe extension and be ready to run immediately. Project folders need to comply with several prerequisites for Visual Studio Code to interpret them correctly, we will see which in the next section.
HaxeFlixel configuration files in Visual Studio Code
Visual Studio Code stores all of its default configuration files in a folder with the name “.vscode”. In order to use project specific configuration files you can create the folder inside any project and then populate it with your desired configurations. Accordingly, one of the Flixel-Tools that you installed during the installation of HaxeFlixel is a command that creates the folder with useful defaults.
Let us start with the creation of a new project with the appropriate configuration files. On the Visual Studio Code command terminal navigate to a folder in which you wish to create your new project. Now input the following command:
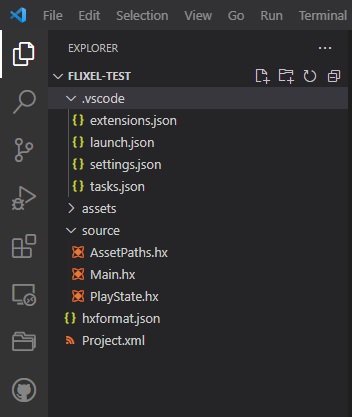
flixel template -n "ProjectName" -ide vscodeYou may replace ProjectName with the name of your project. Visual Studio Code will open a new window with the project. You can find the .vscode folder we discussed inside the project’s structure as well as the Haxe “.hx” files. Your project should look like the next figure.

You can add the .vscode Flixel configuration to any project by running the following command inside the project’s folder:
flixel configure . -ide vscodeProjects that have been correctly identified as HaxeFlixel projects get the following status bar:

This is all for this post, if you would like to learn more about HaxeFlixel and how it interacts with Visual Studio Code, you may find the information here useful.